Focused Arrival Windows
Useful updates and clear arrival timing.
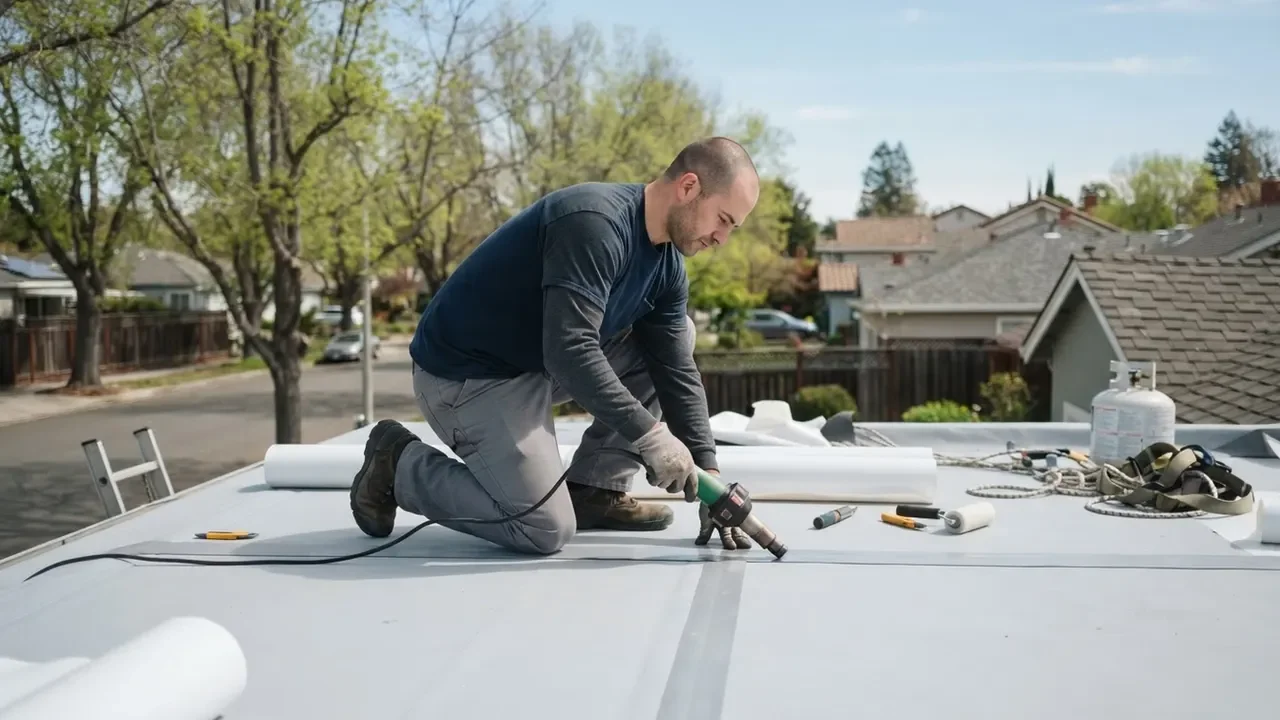
Roof flashing repair in Bay City, Texas seals the vulnerable joints around chimneys, vents, skylights, and roof valleys before water damages ceilings or framing. If you have a ceiling stain, damp attic insulation, or a leak that returns after rain, we trace the entry point and repair the flashing instead of masking symptoms. Our team also handles flashing leak repair Bay City TX for homes and commercial roofs.
Useful updates and clear arrival timing.
Review the approach and price before deciding.
Equipped vehicles and respectful cleanup.
Neighbors serving neighbors with follow-through.
Our roof flashing repair covers locating the leak, inspecting the affected roof detail, and repairing or replacing damaged flashing in the immediate area. We also check adjoining roof materials and confirm that water can shed past the repair. If inspection finds extensive decking rot or damage beyond the flashing section, we explain the additional work and price before proceeding.
We inspect the roof detail connected to your leak, including nearby shingles, fasteners, sealant, and drainage. Where needed, we check the attic or interior stain for evidence of moisture travel. This helps us identify the entry point before removing roof materials.
We secure loose flashing or replace damaged sections when corrosion, cracks, or failed seams prevent proper drainage. The new or reset piece is integrated with the roof covering so water flows over the lower layers rather than behind them.
We restore shingles or other roof covering lifted to reach the flashing and address nearby damage that contributes to the leak. If we find missing shingles or deteriorated underlayment, we explain the issue and the repair needed before expanding the work.
We apply compatible roof sealant at joints that require it, secure the finished detail, and clear debris from the work area. We check the repaired section for proper overlap and describe what was changed so you know where the repair was made.
Share what is happening and receive a clear next step from the local team.
Roof flashing repair in Bay City, Texas is targeted roof work that restores the metal or membrane barriers directing water away from joints and penetrations. We inspect the flashing, adjacent shingles, underlayment, fasteners, and roof deck, then determine whether a section can be reseated, sealed, or needs replacement. A sound repair follows the roof's water-shedding direction; caulk alone is not a substitute for correctly layered flashing. We use a moisture meter where interior staining suggests trapped water, and check for hidden damage before closing the roof.
Bay City weather puts roof details through repeated rain, wind, humidity, and heat cycles, while wind-driven water can expose a small gap around a vent or chimney. Bay City, Texas roof flashing repair is especially useful when a leak appears after storms or returns around the same roof feature. We check drainage and nearby materials as well as the visible joint, because clogged gutters or loose shingles can send water toward a weak detail. If you are searching for roof flashing repair near me in Bay City, Texas, we can assess the leak and explain the repair needed.
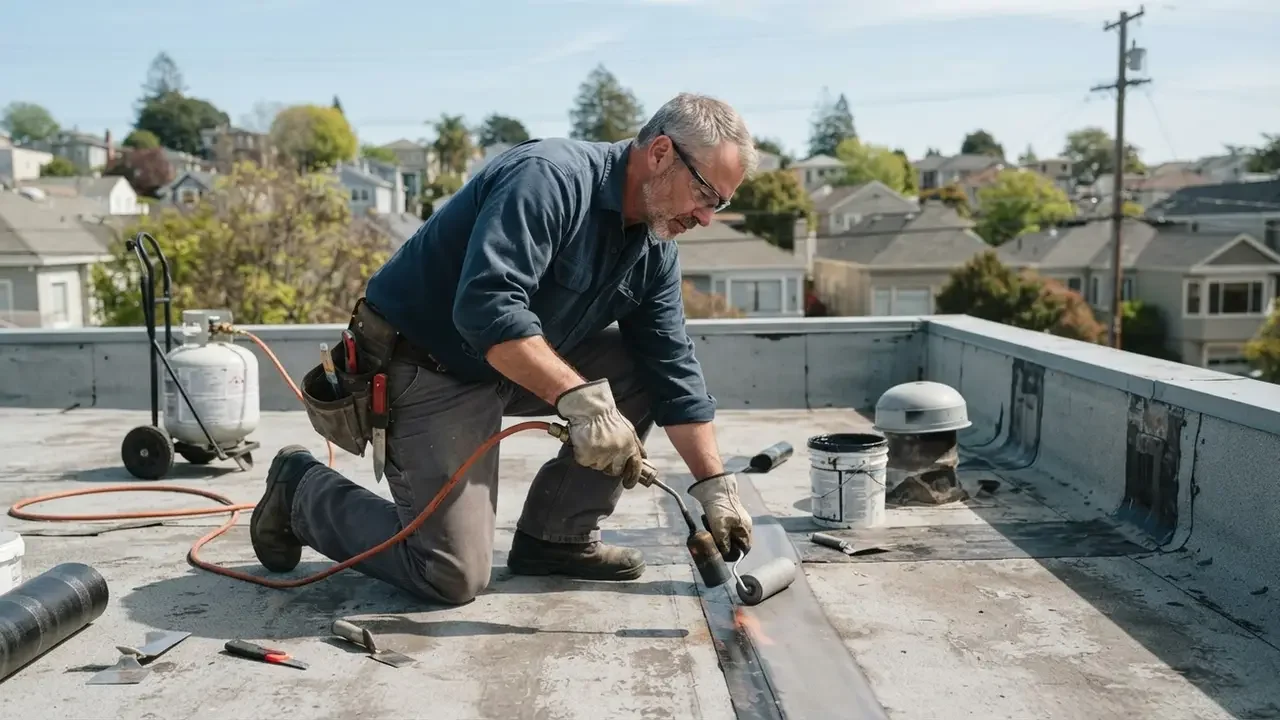
We ask when the leak appears, inspect the attic or interior stain, and check likely roof details from a safe position. A moisture meter helps identify damp areas that are not visible on the surface. This first visit often takes 30 to 60 minutes, depending on roof access and how many penetrations need checking.
Our crew examines the flashing, adjacent shingles, fasteners, sealant, and drainage path around the suspected entry point. We look for lifted edges, corrosion, cracked sealant, and evidence of water traveling beneath the roof covering. You hear what we found and whether the repair is local or involves damaged decking.
We use an extension ladder and appropriate fall protection, then remove only the roof covering needed to reach the failed detail. A shingle ripper or pry bar lifts shingles without unnecessary tearing, and we clear loose debris before installing or resetting flashing. If rain is active, we protect the opening before proceeding.
We install compatible flashing, restore the shingle or membrane layers, and fasten the assembly so water sheds over the lower course. Roof sealant is used where the detail calls for it, not as a substitute for proper overlap. A typical localized repair takes two to four hours once the roof is dry and accessible.
We check the repaired edge, confirm fasteners and laps are secure, and remove debris from the roof and work area. Where conditions allow, we test the repair with controlled water rather than waiting for the next storm. We explain what was corrected and point out any separate roof issue that needs attention.
We check suspect framing or roof materials for retained moisture when an interior stain does not line up with the visible roof opening.
We use thermal imaging as an inspection aid when conditions support it, helping locate temperature patterns that can indicate trapped moisture beneath a roof surface.
We lift only the shingles needed to reach the flashing, reducing avoidable damage to surrounding roof covering during a localized repair.
We secure roofing fasteners and finish shingle work around the repaired flashing so the roof layers sit firmly and shed water correctly.
We apply compatible roof sealant at the joints designed to receive it, keeping sealant in its proper role rather than using it to conceal failed flashing.
We arrange flashing and roof covering so each upper layer overlaps the one below it. This lets gravity carry water down the roof instead of behind the shingles or membrane. We check the completed lap and fasteners before restoring the surrounding roof surface.
We compare the interior stain, attic evidence, roof slope, and nearby penetrations to locate the most likely entry point. Water can travel along framing before appearing indoors, so we inspect the route rather than assuming the stain marks the opening.
We select repair materials suited to the roof type and existing detail, including shingle, metal, or membrane systems. Correct compatibility matters at seams and exposed joints, where an unsuitable sealant or patch can fail under movement and weather.
We use an extension ladder and safety harness where conditions require them, and keep tools secured while working above ground. If the surface is wet, unstable, or unsafe, we protect the affected opening and return to permanent roof work when conditions allow.

We inspect the chimney-to-roof joint, surrounding shingles, and attic area for a clear water path. If step flashing has lifted or counterflashing has opened, we repair the affected layers and check for damp decking before closing the roof. You get the leak source addressed and a clear explanation of any interior materials that still need drying or repair.
We examine the vent flashing and the commercial roof surface around it, then identify whether the leak comes from a split boot, seam, or nearby roof covering. We protect the opening if conditions prevent an immediate permanent repair and complete the correct detail work when safe. The repair focuses on the failed penetration and helps keep water away from stock, equipment, and ceiling systems.
We inspect the skylight perimeter from the roof and, where accessible, check interior moisture indicators. We distinguish failed flashing from a skylight-frame issue, reset or replace the affected roof detail, and secure the surrounding shingles. You know whether the leak came through the roof joint or the skylight assembly and what was repaired.
We clear the immediate obstruction, inspect the valley flashing and adjoining roof edges, and look for signs that water has backed beneath the covering. We repair any damaged overlap and verify that runoff has an open path toward the gutter. A repaired valley and clear drainage path reduce water buildup at the roof junction during the next rainfall.
Bay City's rain, humidity, wind, and seasonal heat put stress on exposed roof joints. Wind-driven rain can push beneath lifted shingles, while repeated heating and cooling can work on sealant and metal seams. We inspect chimneys, vent pipes, skylights, valleys, and roof-to-wall transitions because these details interrupt the main roof surface. Bay City, Texas roof flashing repair also accounts for the roof type: an asphalt shingle roof needs layered shingle and flashing work, while a low-slope roof needs a compatible membrane transition. In November and through the cooler months, wet surfaces can affect safe access and repair timing; we do not install permanent materials over a wet or unsuitable surface. If you need flashing leak repair in Downtown Bay City TX, tell us whether the leak follows rain direction or appears around a particular feature. That clue helps narrow the inspection. We check drainage at gutters and valleys, look for hidden moisture, and explain the repair before work begins. For your property, the goal is a sealed detail that still drains properly, not a surface patch that traps water.
Older and mixed-use roofs can have several layers around chimneys and roof walls. We inspect the existing detail before disturbing shingles or trim.
Wind-driven rain can expose weak joints around skylights and vents. We check the direction of water entry and inspect the roof surface around each penetration.
Roof valleys and gutters need clear drainage during heavy rain. We look for debris buildup and signs that water has backed beneath valley flashing.
Commercial roofs can combine penetrations, seams, and low-slope transitions. We match the repair to the roof material and check adjoining membrane or panels.
Water can travel beneath a lifted shingle or flashing edge and appear indoors away from the opening. We check the slope and nearby framing to trace the route before repairing the roof detail.
Moisture can linger around poorly drained penetrations and conceal early deterioration. We check the flashing and surrounding materials, then confirm the area is suitable for repair before sealing it.
Metal and sealant move as temperatures change, which can widen an already weak joint. We inspect fasteners and seams for separation and use a repair approach compatible with the roof assembly.
A homeowner in Downtown Bay City saw a ceiling stain grow after rain. Inspection found a lifted flashing edge and damp shingles beside the chimney, while the interior mark sat several feet downslope. Earlier surface caulk had not corrected the overlap, so water continued to enter beneath the roof covering.
We lifted the affected shingles, corrected the flashing overlap, and replaced the damaged section. The repair area measured about 3 feet along the chimney edge, and the work took roughly three hours after the roof surface was dry. We checked adjacent shingles and the attic side for remaining moisture before finishing.
Maintenance: Check the ceiling and attic after the next heavy rainfall, and keep nearby gutters clear so runoff does not back up at the roof edge. If the stain returns or expands, call us to inspect the repaired detail and surrounding materials.
A Bay City Center property had a recurring drip below a roof vent, especially during wind-driven rain. The previous patch covered a split boot but left the surrounding shingles and fasteners undisturbed. Water had begun to mark the ceiling, though the roof deck remained firm at inspection.
We replaced the failed vent flashing, restored the shingles around the pipe, and checked the fasteners and roof surface. The localized repair took about two hours and eliminated the open split at the penetration. We confirmed that the nearby roof covering was seated before clearing the work area.
Maintenance: From the ground, watch for lifted shingles or visible damage around roof penetrations after strong wind. Do not climb onto a wet roof. Arrange an inspection if a new stain appears or the vent area begins leaking again.
A Bayfront home developed a leak where two roof slopes met after debris collected in the valley. Water had backed under a damaged shingle edge, leaving damp sheathing near the channel. The owner noticed the problem after repeated rain, when a ceiling corner began to discolor.
We cleared the valley, replaced the affected shingle section, and repaired the flashing overlap along a 4-foot stretch. The work restored a clear downslope path and took about four hours, including checks of the adjacent roof covering. The damaged area was localized; no broader deck replacement was needed.
Maintenance: Keep leaves and loose debris out of the valley and nearby gutters, especially after windy weather. A visual check from the ground after storms can reveal buildup; call for a roof inspection if water marks or loose shingles appear.
A small opening around a roof penetration can send water into insulation, framing, and ceilings. We trace the leak to its source and repair the failed joint, with particular attention to roof details exposed to wind-driven rain. Early attention can keep a local defect from spreading.
Repeated moisture can stain ceilings, soften drywall, and reach framing before the outside gap is obvious. We inspect the chimney flashing, adjoining shingles, and the path water takes down the roof. If the flashing has separated or corroded, we repair the affected section and restore the layered connection. We also check the nearby roof surface so the leak is not redirected through another weak joint.
A surface patch can crack or detach while water continues beneath the boot, wetting insulation and roof decking. We examine the vent boot, pipe opening, fasteners, and surrounding shingles to find the failed part. If the boot is split, we replace it and integrate the shingles correctly; if the flashing is sound, we repair the actual joint. A roof flashing leak around vent pipe Bay City TX needs a durable detail, not another coat over dirt.
Water forced beneath loose valley edges can spread across the roof deck and damage more than the visible ceiling area. We inspect the valley channel, flashing, and shingle edges for lifted or broken sections. We clear debris, replace damaged materials where needed, and rebuild the water-shedding overlap. The repair also considers nearby gutters so runoff can leave the roof instead of backing up at the valley.
Continued leakage can damage the skylight trim and interior finish, while hidden moisture remains in the roof assembly. We check the skylight perimeter, flashing steps, and adjacent roof covering to separate a roof leak from a frame or glazing problem. We repair the failed roof detail and check for damp materials around the opening. If the skylight itself is the source, we explain the repair needed for that assembly.
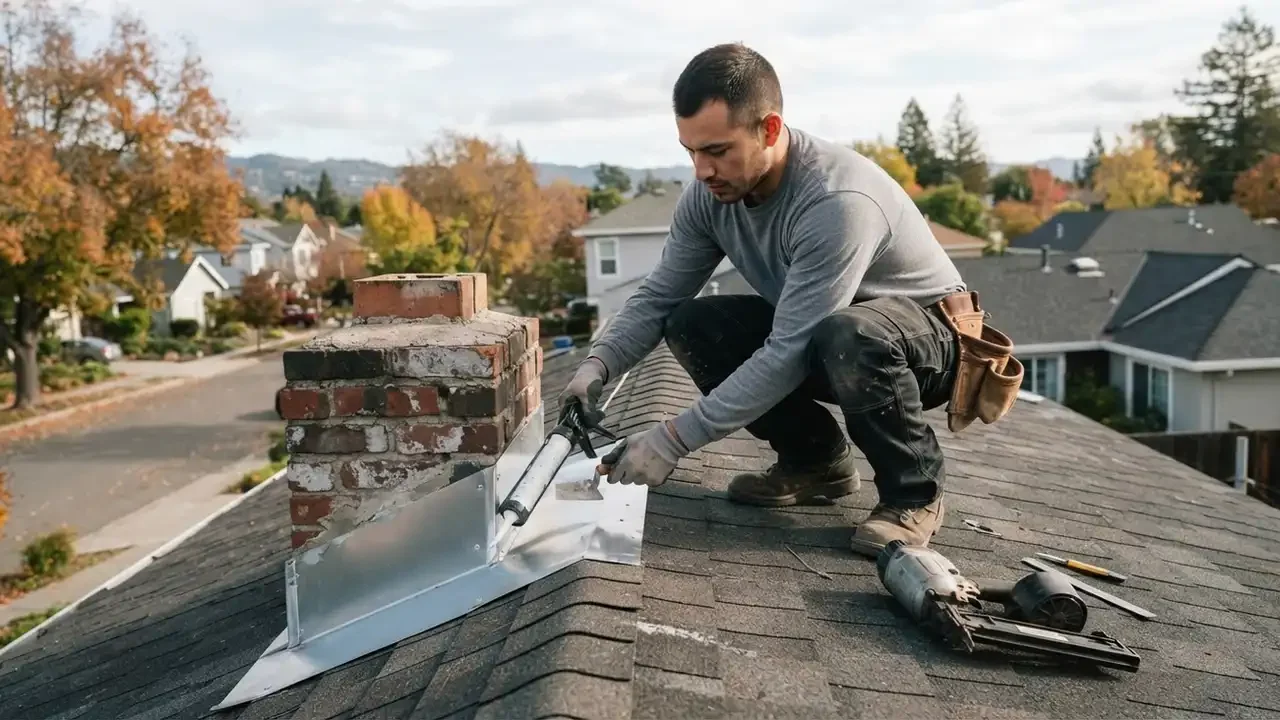
Flashing repairs depend on roof type, slope, water direction, and the condition of the materials around the joint. Our local experience covers leaks at chimneys, vent pipes, skylights, valleys, and transitions between roof surfaces. We distinguish a failed flashing detail from missing shingles, a roof valley leak, or condensation inside the attic before choosing a repair. Our crew follows safe access practices and matches the repair materials to the existing roof assembly, so the finished detail sheds water instead of trapping it.
Water showed up beside our chimney after heavy rain, though the ceiling stain was several feet away. The crew traced it to a lifted flashing edge, replaced the damaged section, and checked the shingles around it. They explained what they found before starting, and the leak did not return during the next storm.
Our vent pipe had been patched before, but the leak came back whenever rain blew across the roof. Bay City Roofing checked the boot and surrounding shingles, then replaced the failed detail instead of adding more sealant. The repair took a few hours, and they cleaned up the loose material before leaving.
A damp spot appeared near our skylight after a windy storm. The team inspected the flashing and found water tracking under one edge, then reset the area and sealed the proper joint. They also pointed out a nearby shingle that needed attention. We appreciated getting a clear explanation without a sales pitch.
Most localized flashing repairs cost about $180 to $850 and take two to four hours. The final price depends on roof height, access, flashing type, how much roof covering must be lifted, and whether wet decking needs replacement. Our 2026 pricing reflects the labor and materials required for the actual repair. We inspect the leak and give you the price before work begins, so you can decide with clear information.
Flashing leaks in Bay City TX commonly result from separated seams, corroded metal, cracked sealant, loose fasteners, or wind-lifted shingles around a roof penetration. Heavy rain can drive water beneath a poorly layered edge, while heat and movement stress exposed joints. We inspect the flashing and surrounding roof covering to distinguish those failures from a clogged drainage path or a separate roof leak.
Yes, roof flashing can be repaired in Bay City, Texas when the metal or membrane detail and the surrounding roof structure remain sound. We can reseat a loose section, replace a damaged piece, or rebuild the adjoining shingle layers. If corrosion, rot, or a split seam extends beyond the local area, we explain the wider repair needed. A same day roof flashing repair Bay City, Texas may be possible for a straightforward, accessible leak.
Roof flashing in Bay City TX should be sealed only after the failed detail is identified, cleaned, and correctly layered. Sealant alone will not repair loose metal, missing overlap, or damaged shingles. We remove failed material, install or reset flashing as needed, and apply compatible roof sealant at the specified joint. If water is entering your home, call us instead of climbing onto a wet or steep roof.
Not seeing your question? Our local team can help you understand urgency, scheduling and what to expect.
Ask the local team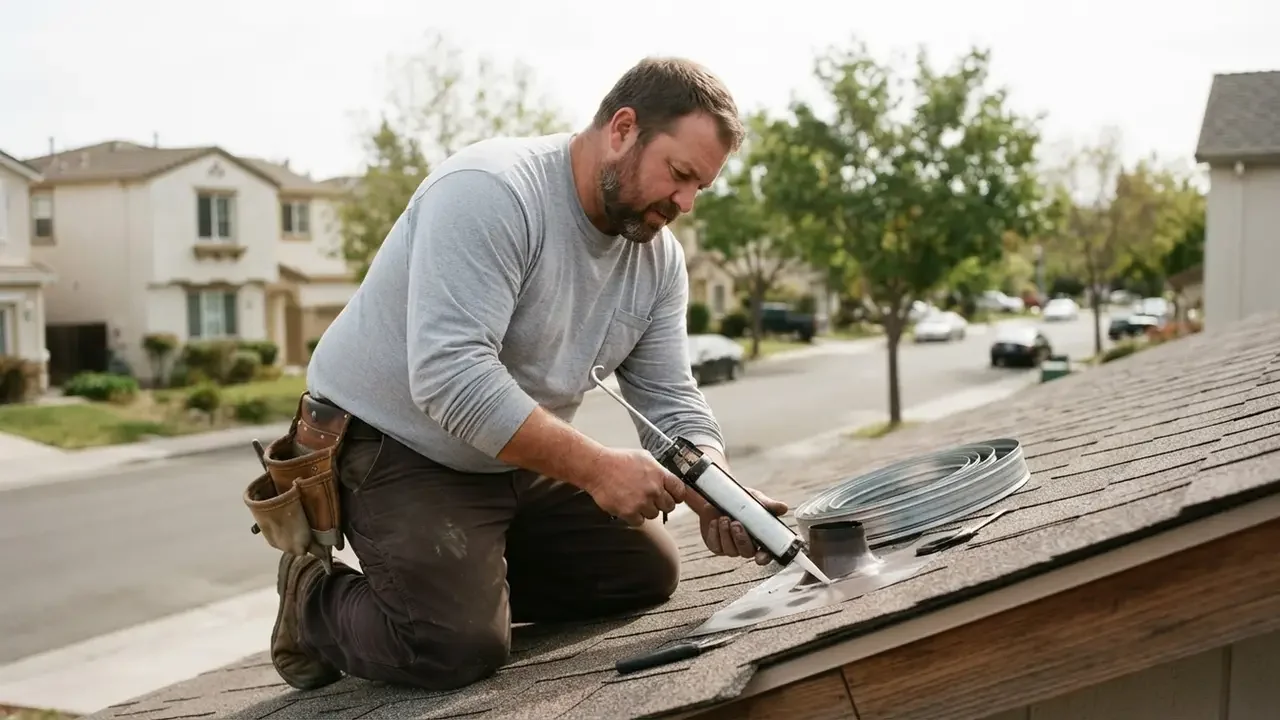
Roof repair addresses damaged shingles, loose roofing, and related defects found beside flashing failures. In Bay City, we check whether the flashing leak has affected nearby materials, then coordinate repairs so water does not simply enter through the next weak point.
View service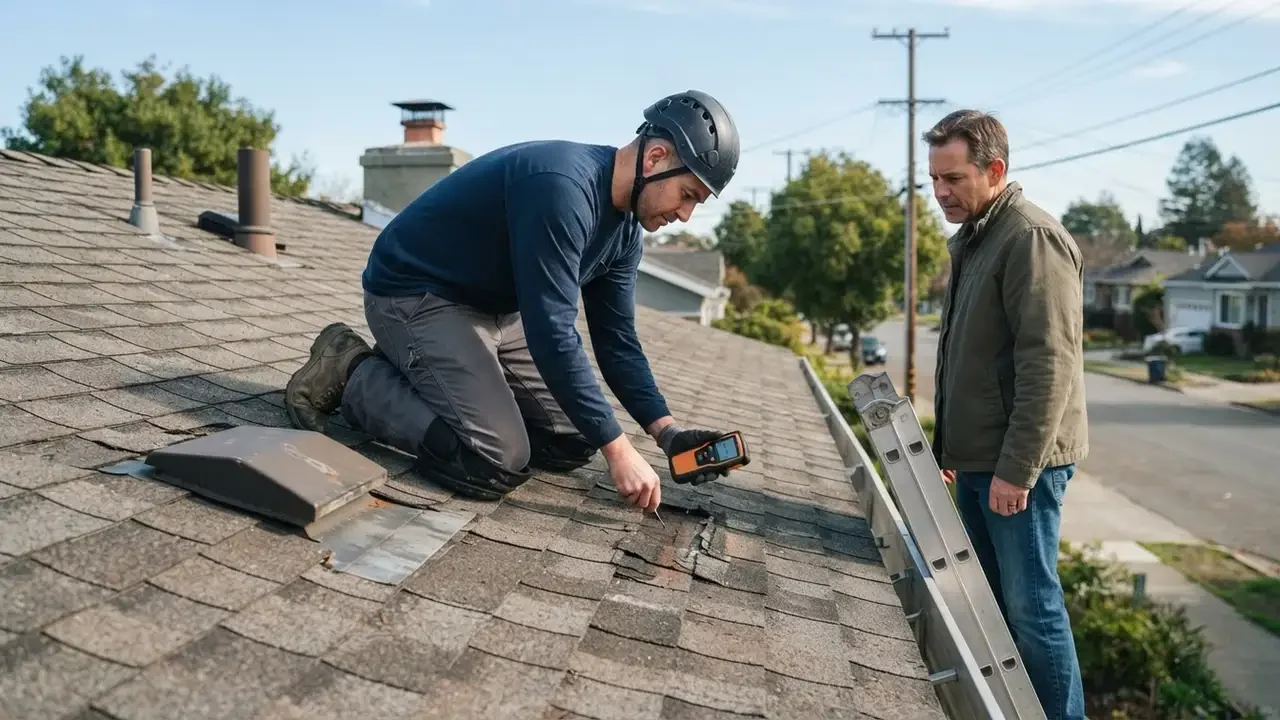
When a roof covering is worn across a broad area, replacing one flashing section may not provide a durable solution. We assess the roof condition and explain whether replacement is more practical, including how new flashing integrates with the roof system.
View service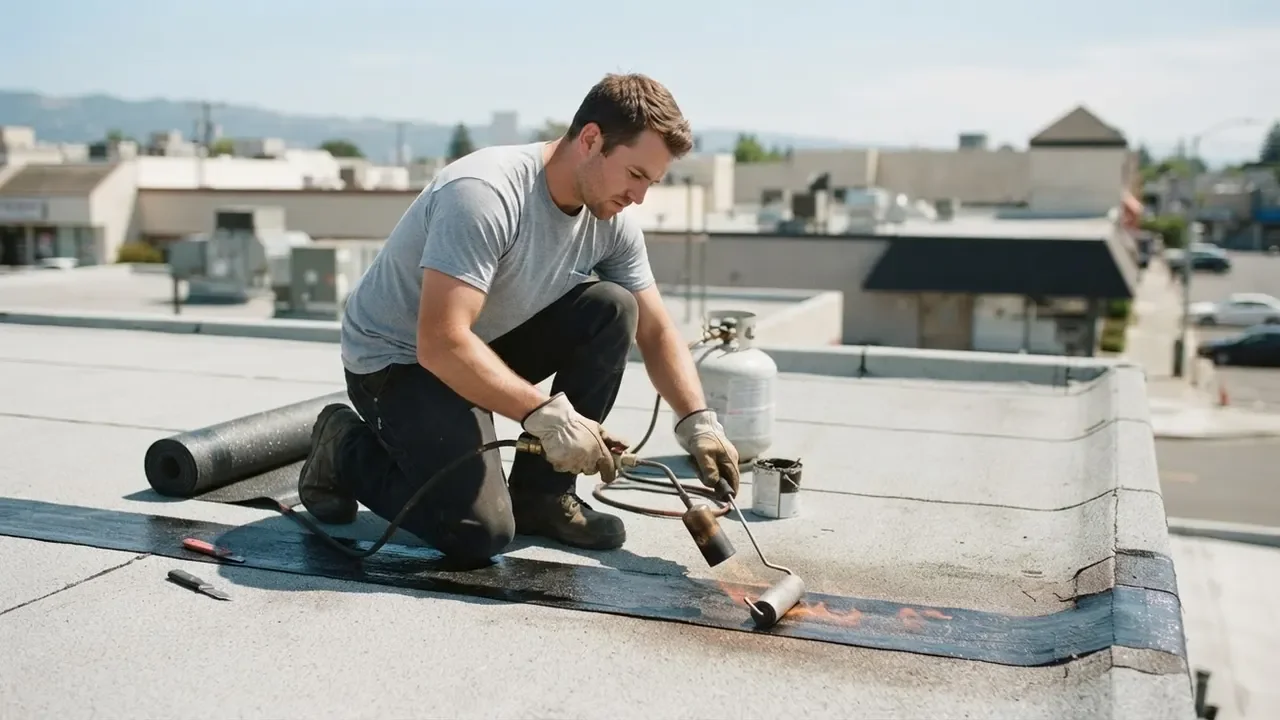
Roof leak repair follows water from the indoor symptom back to the roof opening. We inspect flashing, shingles, valleys, and penetrations in Bay City so your repair targets the source instead of only treating a ceiling stain.
View service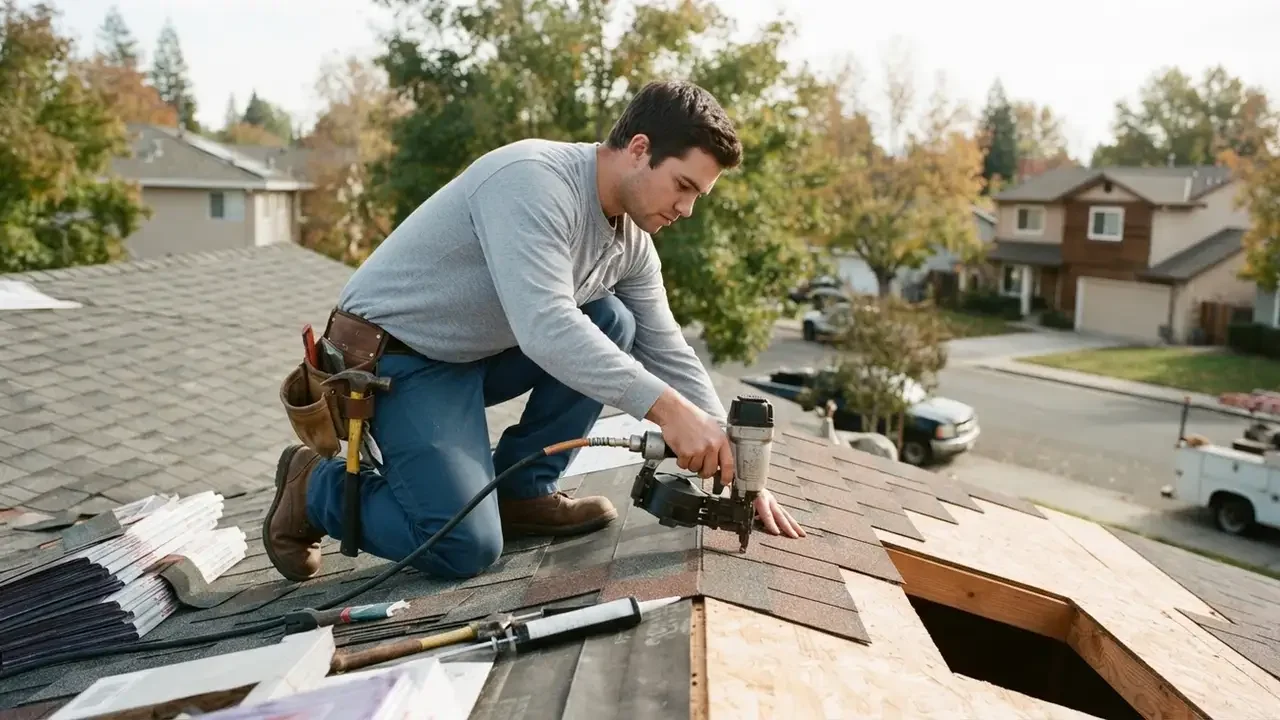
Active water entry after a storm needs prompt protection. Emergency roof repair can secure an opening, limit further exposure, and set up the permanent flashing fix when conditions are safe for roof work.
View service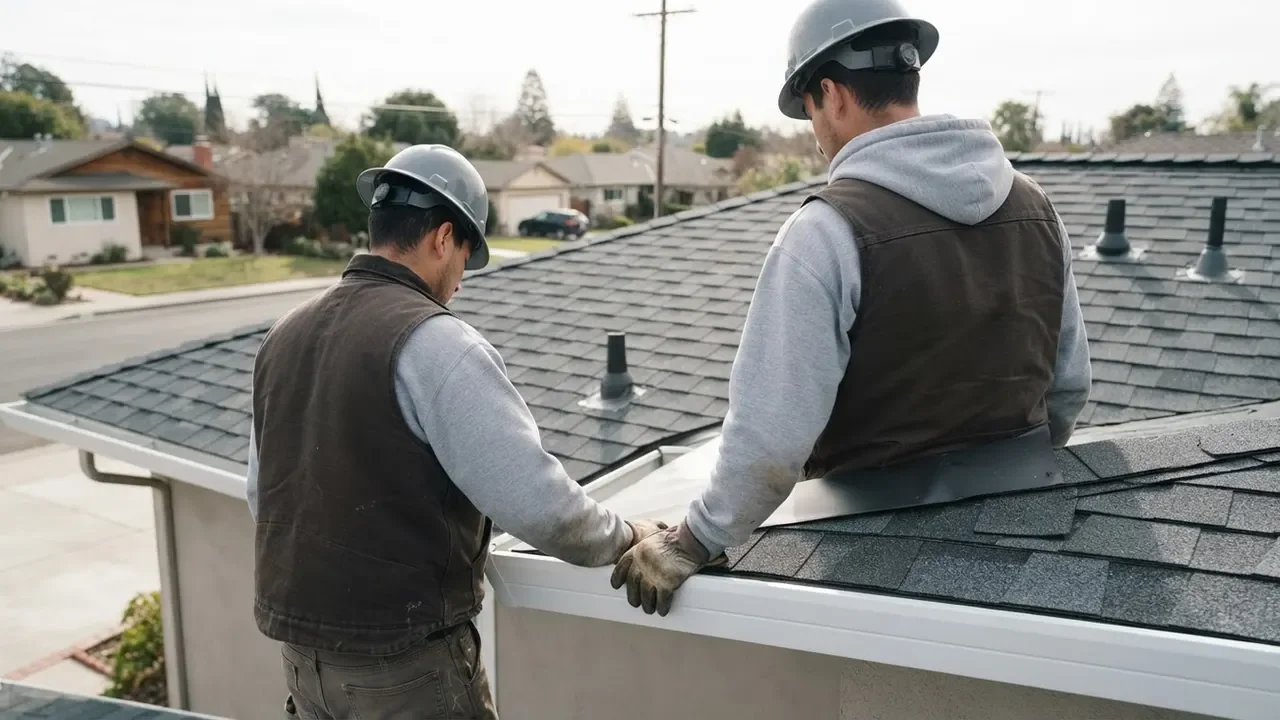
Call (877) 791-3217 to discuss a roof leak, storm damage, inspection, or replacement in Bay City. We connect you with independent roofing companies and help you get the conversation started. Calls are accepted around the clock for urgent roofing needs; tell us whether water is actively entering and where you see the damage.