Focused Arrival Windows
Useful updates and clear arrival timing.
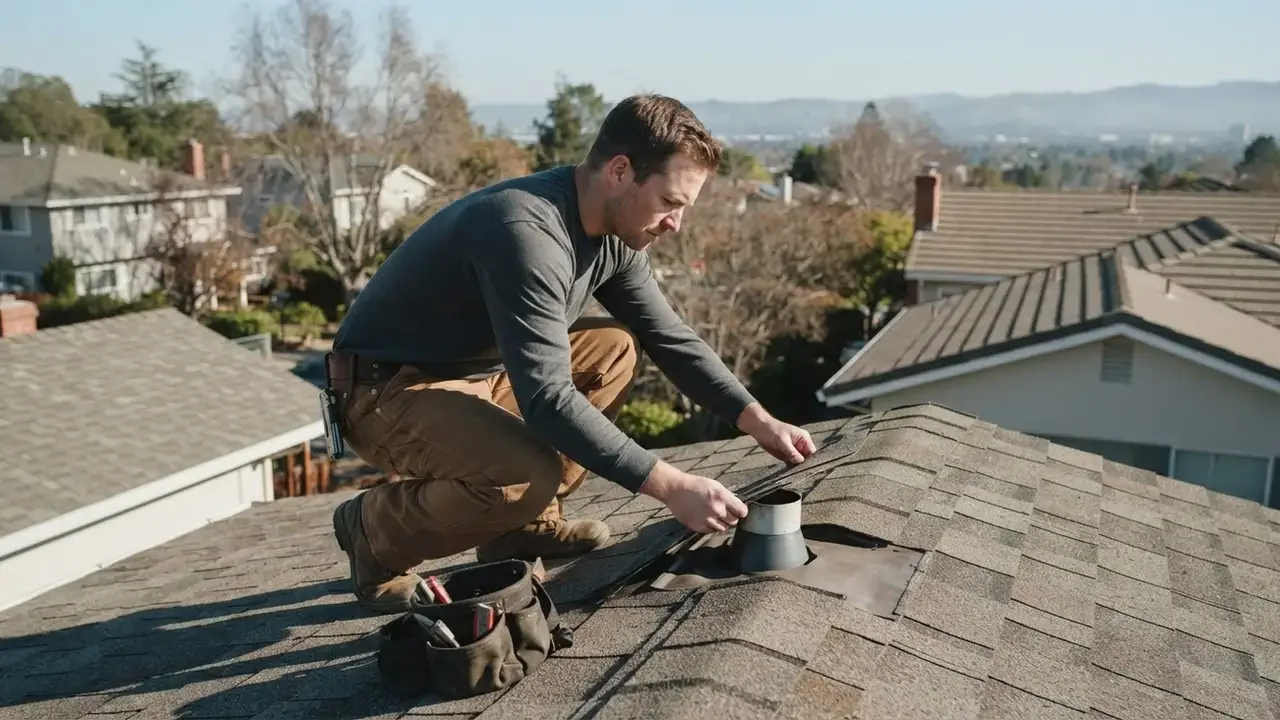
Skylight installation in Bay City, Texas adds daylight and freshens dark kitchens, hallways, and upper rooms without compromising your roof. We help Bay City homeowners choose a suitable skylight, check the roof structure, and integrate flashing with the existing roofing material. Our skylight install Bay City TX service includes careful opening preparation, weatherproof detailing, and a final water-shedding check, so you know what is happening at each stage.
Useful updates and clear arrival timing.
Review the approach and price before deciding.
Equipped vehicles and respectful cleanup.
Neighbors serving neighbors with follow-through.
Our skylight installation covers the roof assessment, layout, opening preparation or existing-unit removal, skylight placement, and integration of compatible flashing and underlayment. We protect the work area, inspect the completed roof transition, and walk you through the result. Product selection, structural changes, drywall repair, painting, and extensive deck replacement are identified as separate work when needed, so you know what is included in the agreed installation.
We review roof pitch, covering, accessible framing, and the target room before cutting. The inspection checks for soft decking, visible moisture, and clearance around the opening. If the roof is compromised, we identify the repair needed before setting a skylight into an unstable or wet surface.
For a new unit, we mark and frame the opening to match the selected product requirements; for replacement, we measure the existing opening and check the curb or deck. We confirm placement from inside and outside to avoid obvious framing conflicts and keep the unit aligned with the room's purpose.
We integrate compatible flashing with roof underlayment and the surrounding roofing material, directing water around and below the skylight. Sealant supports approved details but does not replace layered flashing. We inspect the upper, side, and lower transitions before considering the exterior work complete.
We check fasteners, roofing courses, visible flashing edges, and the interior area for debris or gaps. When weather permits, we perform a controlled water check and show you the finished transition. Basic cleanup is included; major drywall finishing or repainting is arranged as additional work if the project requires it.
Share what is happening and receive a clear next step from the local team.
Skylight installation in Bay City, Texas is a roofing service that creates a framed roof opening and installs a glazed unit to bring natural light into an interior space. We first check roof pitch, rafter position, covering type, and the room below; then we size and position the opening to avoid structural members and direct water toward the roof drainage path. The crew removes only the necessary roofing, frames the curb or deck-mounted unit, fits roof underlayment and flashing, and seals compatible transitions. Interior finishing is discussed before work so you understand whether drywall repair or trim is part of the job.
Bay City roofs face strong sun, driving rain, humidity, and wind, so the skylight and its flashing need to work as one roof assembly. A roof leak near an older unit can come from failed flashing, cracked sealant, or damaged shingles rather than the glass itself. Our Bay City, Texas skylight installation company checks the surrounding roof and attic for moisture before recommending a replacement or new opening. If you are searching for skylight installation near me in Bay City, Texas, we can assess the roof pitch, access, and drainage details before proposing a practical plan.
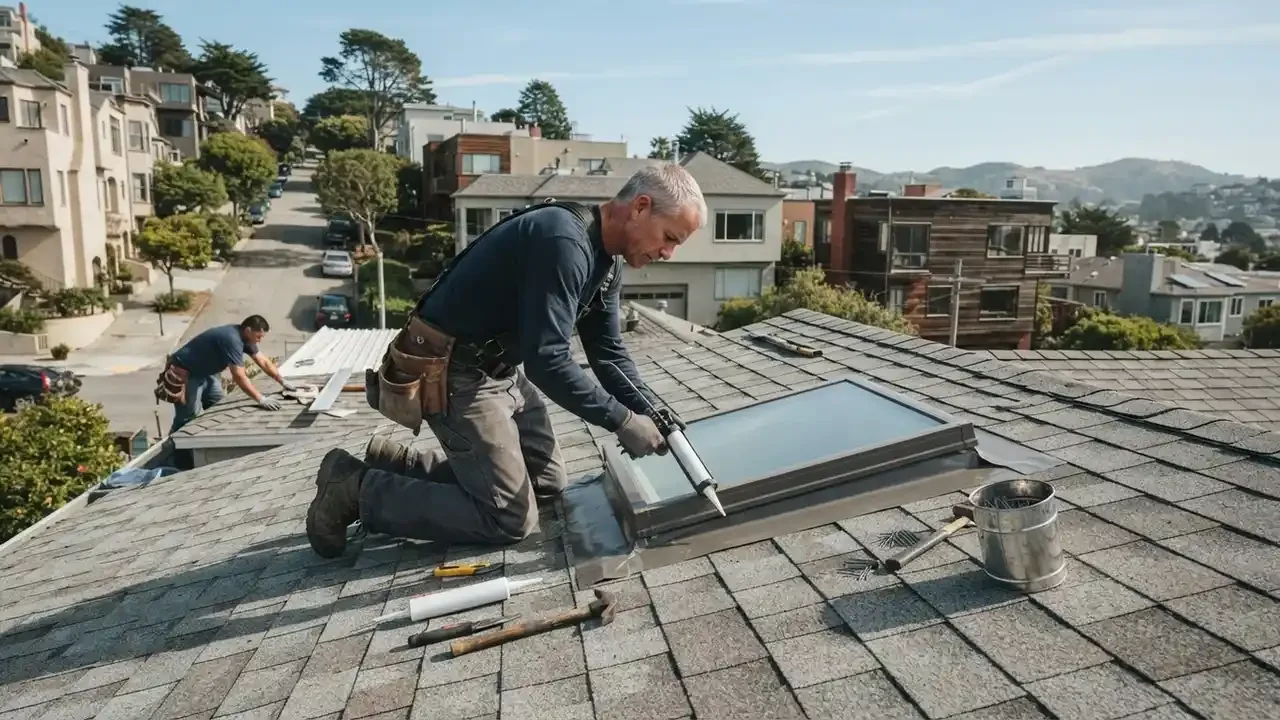
We inspect the roof surface, attic or framing access, pitch, and the room below, usually in a 30- to 60-minute visit. You show us the target room and any leak or condensation history. We look for rafter conflicts, soft decking, roof leak stains, and the drainage route so the proposed location makes sense structurally and practically.
We confirm whether you need a new opening or replacement, then check rough-opening dimensions against the selected unit's installation instructions. You review placement, glazing, and whether an operable model is appropriate. We mark the interior position and roof layout together, avoiding plumbing, wiring, and framing conflicts where visible access allows.
On installation day, we set an extension ladder, use a safety harness, and protect the work area before removing shingles or panels. A shingle ripper and pry bar lift only the roofing needed to expose the deck. For a new opening, we cut and frame the opening to the product specification; exposed areas are protected as the work progresses.
We place the skylight level and secure it to the prepared frame or deck, then integrate the manufacturer-compatible flashing with roof underlayment and surrounding roofing. A roofing hammer and utility knife help make controlled, clean transitions. We do not treat roof sealant as a substitute for correctly layered flashing; each layer must shed water outward.
We inspect the finished perimeter, fasteners, roofing courses, and interior for gaps or debris, then perform a controlled water check when conditions allow. You receive a walk-through of the completed work and care points. Most standard replacements take 4 to 8 hours; framing repairs, a steep roof, or interior trim can extend the schedule.
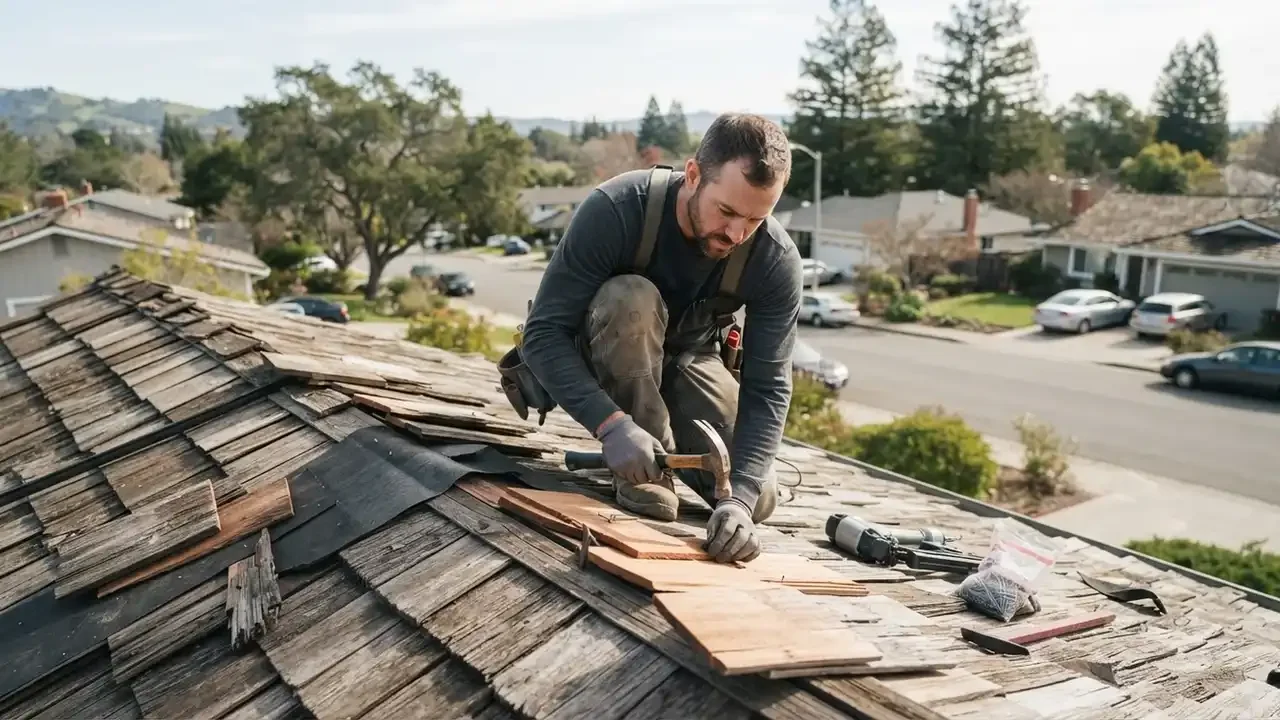
We use a roofing nail gun to secure compatible shingles around the finished transition, following the product and roofing layout so fasteners land in the correct courses.
A shingle ripper lifts and removes only the roofing needed to expose the flashing or deck. Controlled removal helps preserve nearby courses during replacement and leak repair.
We check suspected damp decking or framing with a moisture meter after a reported leak. Readings help distinguish a wet roof assembly from a dry area before repair decisions are made.
An infrared thermal camera can help locate temperature patterns associated with moisture during an inspection. We use it as a diagnostic aid, then verify findings with visible roof and attic checks.
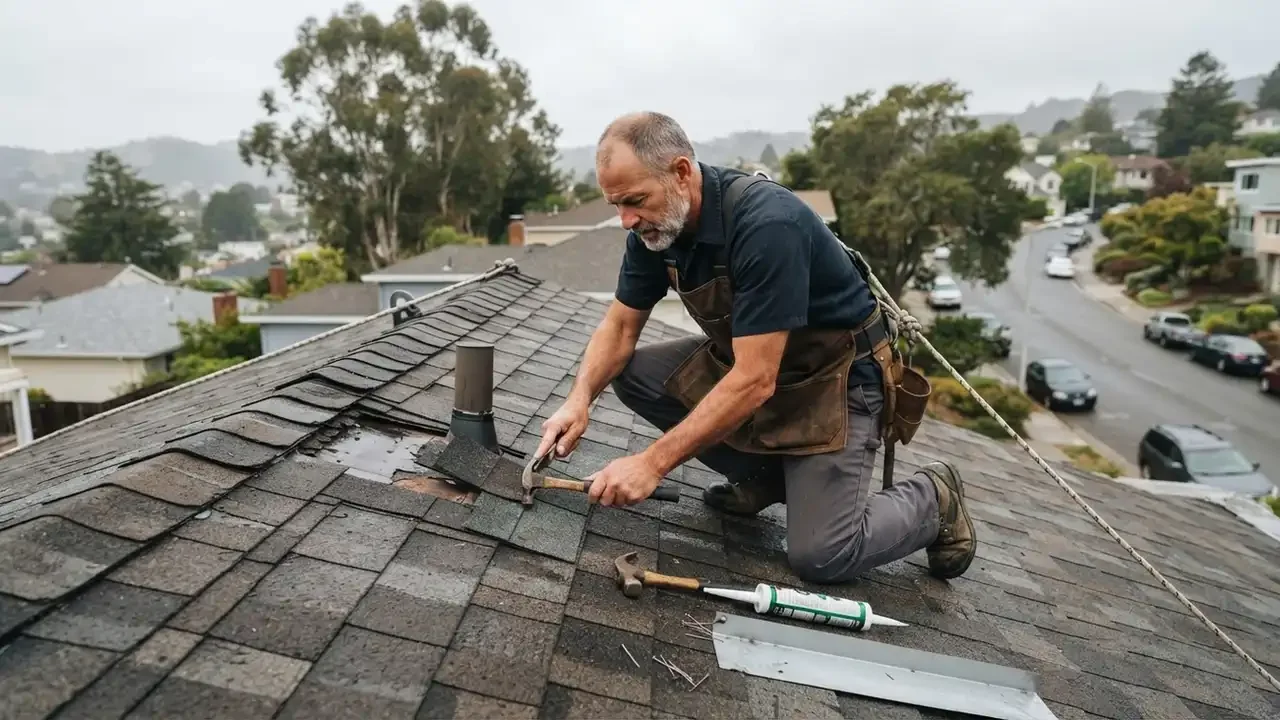
A caulking gun applies compatible roof sealant only where the installation detail calls for it. Sealant supports a correctly layered assembly; it does not replace flashing or underlayment.
We follow the selected skylight manufacturer's requirements for rough-opening dimensions, fastening, flashing sequence, and roof pitch. That keeps the unit and its flashing system compatible. Before closing the roof, we check that the frame is square, the unit sits correctly, and the water path remains clear.
We integrate roof underlayment and flashing so water moves from the upper roof, around the unit, and back onto the lower roof courses. On a shingle roof, each layer must overlap in the correct direction. We avoid treating exposed sealant as the primary defense against rain.
We trace interior stains from the room to the accessible attic and roof surface, checking likely entry points such as the skylight, roof valley, or nearby chimney flashing. A moisture meter supports the inspection, but we also look for damaged materials and the direction water has traveled before choosing a repair.
We inspect the ceiling cavity and roof framing, then plan a skylight position that brings light into the hallway without cutting through a rafter. Our crew checks the roof covering and drainage route before sizing the opening. We explain whether interior trim work is part of the installation. The hallway receives daylight from above, reducing dependence on lights during the day. The opening is framed and flashed as part of the roof system, with the interior finish addressed according to the agreed work.
We inspect the flashing, nearby shingles, and attic for the path water follows. If the frame is sound, we repair the failed transition and replace damaged roof materials. If the unit or curb has deteriorated, we explain replacement and coordinate the new flashing with the existing roof. You get a repair aimed at the actual source instead of a surface bead of caulk. The roof transition is checked before we leave, and you know what was repaired.
We coordinate the opening with the roofing sequence, confirm framing and product dimensions, then install the unit while the roof layers are accessible. The new flashing is integrated with the new shingles and underlayment. If you are considering skylight installation with roof replacement Bay City TX, this timing can avoid reopening finished roofing later. The skylight and roof covering are planned as one assembly, with fewer repeated disturbances to the finished roof. You gain daylight while the roof work is already underway.
We check the membrane type, drainage, framing, and proposed curb height before selecting a compatible skylight detail. Our crew plans the opening away from problem drainage areas and ties the curb flashing into the roof membrane. We also protect the occupied space below during the work. The new unit is suited to the low-slope roof rather than treated like a shingle installation. The interior work area remains organized, and runoff is directed around the completed curb.
Skylight installation in Bay City has to account for intense sun, humid air, sudden heavy rain, and wind that can drive water against roof transitions. We check roof pitch and the path runoff takes before choosing a location, especially near valleys or low-slope sections. On homes with asphalt shingles, flashing is layered into the courses; on membrane roofs, the curb and membrane transition must suit the existing system. Our skylight and roof window installation Bay City, Texas work starts with roof and attic access, because framing conflicts or damp decking can change the plan. We use a moisture meter when a stain needs tracing and protect exposed openings as work progresses. When you are planning skylight installation near me in Bay City, Texas, we also consider the room's orientation and glare, then match the unit and glazing to its use. We follow applicable local building requirements and the product instructions, and explain how the roof detail will shed water before installation begins. In older buildings, we take care around existing framing and finished ceilings rather than assuming every opening is standard.
Older roof layouts and tighter access can make attic framing checks especially useful before choosing a skylight location or cutting a new opening.
Wind-driven rain deserves close attention at roof transitions, so we inspect flashing edges and nearby roof drainage before installation.
Homes with established shingle roofs benefit from checking the surrounding courses and deck condition before replacing an aging skylight.
We consider roof exposure and runoff paths when planning a unit, particularly where open roof areas receive strong sun and weather.
Heat can increase glare indoors and age exposed sealant faster than protected flashing. We discuss glazing and shade choices, then rely on compatible flashing details rather than a caulk-only perimeter.
Rain pushed sideways can reveal gaps at the upper flashing edge or damaged shingles near a skylight. We inspect the full perimeter and trace water from the roof before deciding whether repair or replacement is needed.
Moisture on the interior can come from humid indoor air or rain entering through the roof. We compare the stain pattern with attic and exterior findings so you receive the right fix, not a replacement for a sound unit.
A homeowner reported a ceiling stain after heavy rain and a cloudy skylight that no longer opened smoothly. The surrounding shingles looked intact from the ground, but the flashing edge was lifted and the deck showed localized moisture. Water had also marked a small section of interior trim.
We removed the old unit, repaired the affected deck section, and installed a compatible replacement with integrated flashing. The roof work took about 6 hours, followed by an interior check. The homeowner saw a clear glazing surface and no new water entry during the next rainfall.
Maintenance: Check the ceiling and skylight perimeter after major storms, and keep nearby roof drainage clear. During a routine roof inspection, ask us to look for lifted flashing edges, damaged shingles, and signs of moisture in the accessible attic.
A narrow landing had no exterior wall suitable for a window and needed overhead lighting even during daylight. The homeowner wanted more natural light but did not know whether the roof framing allowed a new opening. A quick look from the room could not confirm the rafter layout.
We checked the attic framing, marked a clear location, and installed a fixed skylight with flashing matched to the shingle roof. The opening brought daylight across the landing, and the installation was completed in one workday. We left the interior work area clean and explained the roof transition.
Maintenance: Keep the skylight glass and interior shade clean according to the product instructions. Inspect the ceiling for staining after wind-driven rain, and have roof flashing checked during scheduled maintenance or after visible storm damage.
A roof was due for new shingles, and the existing skylight had an aging frame with cracked exterior sealant. Installing a replacement after the reroof would require disturbing finished shingles around the opening. The owner wanted both projects coordinated.
We removed the old unit while the roof covering was being renewed, checked the exposed deck, and installed the replacement before completing the surrounding shingles. The flashing tied into the new roof layers, avoiding a second round of removal. The work stayed within the planned roofing sequence.
Maintenance: Keep records for the skylight model and roof materials, and review the unit during annual roof maintenance. Watch for cracked glazing, loose trim, or interior moisture; prompt inspection can prevent a small flashing issue from reaching the ceiling.
A skylight problem often shows first as a ceiling stain, fogged glazing, or damp trim, but the visible symptom may not identify the entry point. We inspect the unit and nearby roof together, then explain whether repair or replacement addresses the cause. Early attention helps limit damage to insulation, framing, and finished surfaces.
Water can travel along framing before appearing indoors, wetting insulation or drywall and making the leak source difficult to pinpoint. Repeated moisture can also damage the roof deck. We inspect the skylight perimeter, roof flashing, nearby shingles, and accessible attic for a water trail. If the flashing has failed, we rebuild the transition and replace damaged roofing as needed. We also check nearby valleys and roof penetrations so a different leak is not mistaken for a skylight defect.
A failed seal or damaged pane can leave the room dim and allow moisture between glazing layers. Delaying replacement can make the unit harder to match to the existing opening. We identify the skylight model and measure the opening, then check frame condition and flashing before recommending a replacement. A sound opening may accept a compatible unit without reframing. We explain glazing choices for heat and glare, and coordinate the new flashing with the roof covering.
A new unit secured to deteriorated decking may not hold properly, and hidden rot can spread beyond the visible stain. The roof transition remains vulnerable until the damaged substrate is addressed. We remove roofing only as needed to inspect the deck and framing around the opening. Damaged sections are repaired before the unit is secured, with the flashing and underlayment rebuilt afterward. You get a clear explanation of the affected area and the repair sequence before the skylight is closed in.
Moisture from indoor air can resemble a roof leak and damage trim if it repeatedly wets the same area. Misdiagnosing condensation as flashing failure can lead to an unnecessary exterior repair. We look for the moisture pattern, check accessible attic conditions, and inspect the unit and roof for actual water entry. We distinguish condensation from rain leakage before recommending work. If the roof is sound, we explain practical ventilation or interior moisture-control steps rather than replacing a functioning skylight.
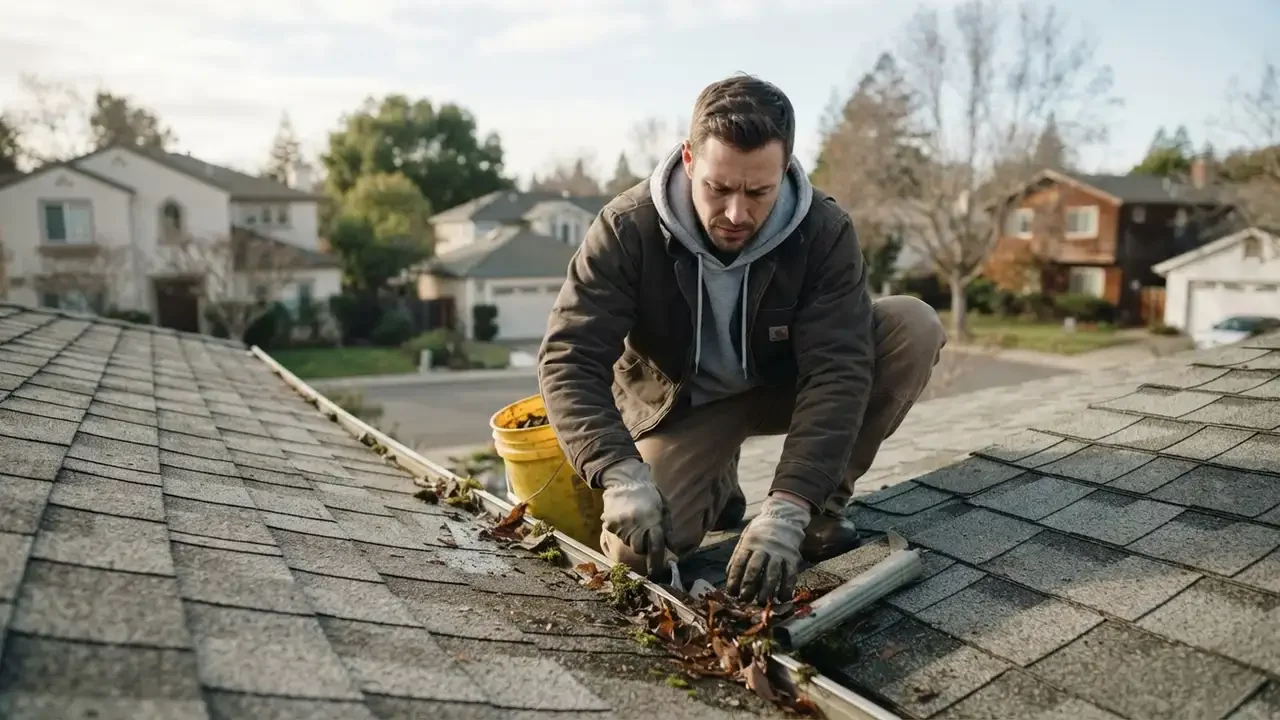
Skylight work is roof work first: the unit, deck, underlayment, flashing, and covering must function together. Our local experience includes matching skylight details to shingle and metal roofs, tracking down leaks around older installations, and coordinating the opening with roof repairs or replacement. We follow the selected manufacturer's installation requirements and applicable local building requirements rather than relying on surface caulk. Our crew checks both sides of the assembly, because an interior stain can point to a roof leak, condensation, or another source that needs a different fix.
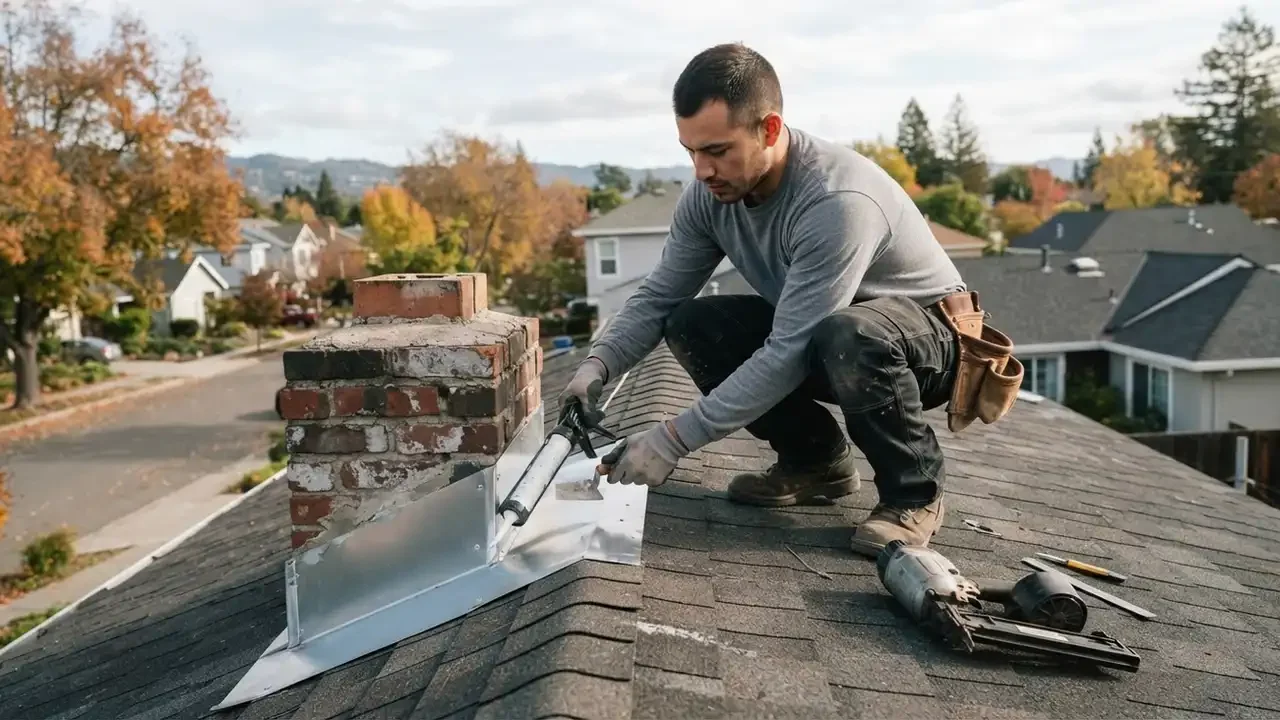
We had a water mark beside an older skylight and expected the whole roof to be involved. The crew checked the attic, found failed flashing, and showed us the damaged shingles before replacing the unit. The opening was protected during the work, and the room was cleaned before they left. The next heavy rain passed without a new stain.
Our upstairs landing was dark even in the afternoon. Bay City Roofing helped us choose a fixed skylight and checked the framing before making the opening. They explained how the flashing fit our shingle roof and finished the exterior in one workday. The landing now gets useful daylight, and the crew walked us through what to watch during routine roof checks.
After wind-driven rain, we noticed damp drywall under the skylight. The team inspected the roof instead of sealing the glass from inside, then repaired the flashing and surrounding roof courses. They also pointed out a gutter issue affecting runoff. The repair took several hours, and the ceiling stayed dry through the next storm.
A standard skylight replacement often costs $1,200 to $3,500, while a new opening commonly runs $2,000 to $6,000, depending on roof and interior work. Those are planning ranges for typical 2026 pricing, not a fixed quote. Unit size, glazing, roof pitch, access, framing changes, and drywall finishing affect the total. We inspect the roof and explain the price before work begins; skylight installation cost in Bay City, Texas is most accurate after those details are checked.
A correctly installed skylight should not leak, but poor flashing, aging sealant, damaged roofing, or a blocked drainage path can let water in. We inspect the unit perimeter, roof covering, and attic before deciding whether the glass, flashing, or nearby shingles need repair. Bay City's wind-driven rain can expose weak transitions quickly. If you see a stain, place a container under active dripping and call us rather than coating the exterior with caulk.
The best brand depends on your roof pitch, opening size, room use, and whether you want fixed or operable glazing. Velux is a widely used option with product-specific flashing systems, but we match the model to your roof rather than selecting by name alone. We check the installation instructions, dimensions, and compatible flashing before recommending a unit. That keeps the product choice tied to the way your roof sheds water.
No; a skylight can be installed only when the roof structure, slope, covering, and product requirements allow a safe, watertight detail. Some low-slope roofs need a curb-mounted unit and membrane-compatible flashing, while steep roofs require careful access and compatible step flashing. We check framing and roof condition before confirming placement. Roof skylight installation Bay City, Texas plans also account for drainage, nearby valleys, and obstructions above the opening.
Not seeing your question? Our local team can help you understand urgency, scheduling and what to expect.
Ask the local teamRoof repair helps address missing shingles, exposed fasteners, or damaged decking around a planned skylight opening. We inspect the surrounding roof before installation, so a small defect is not hidden beneath new flashing. Repairing the roof first gives the skylight assembly a sound surface to tie into.
View service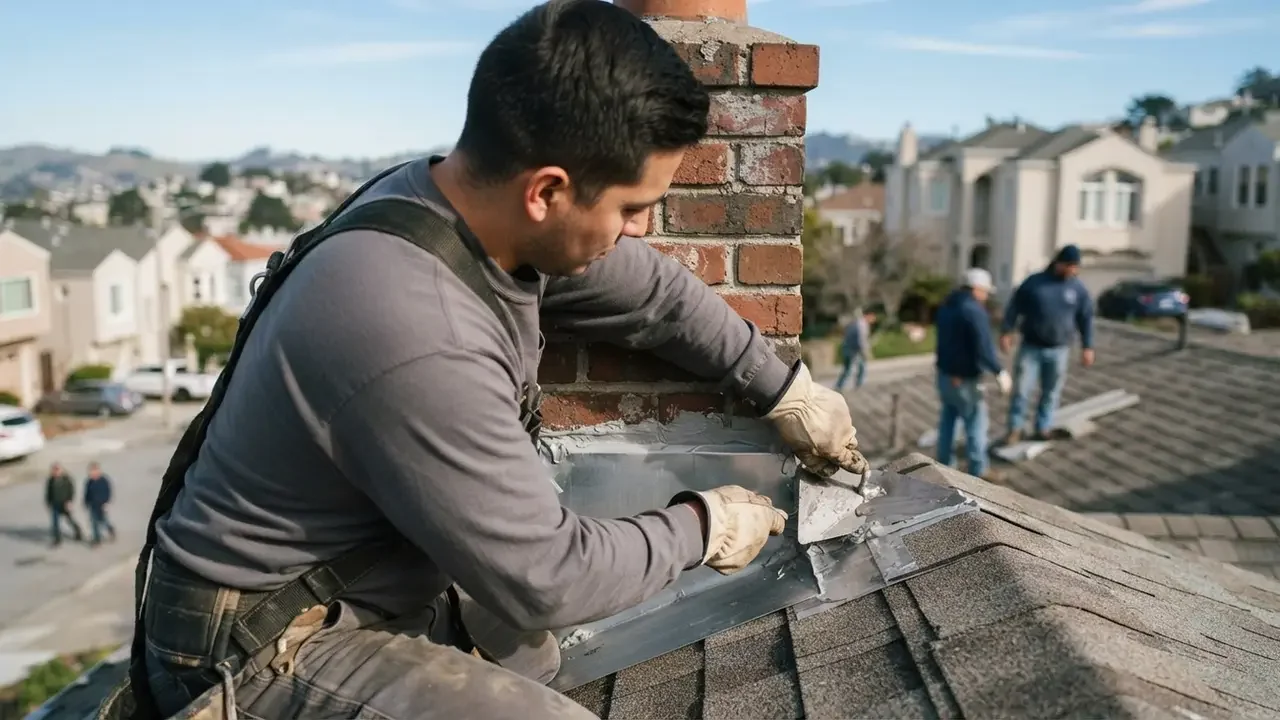
If your roof is nearing replacement, coordinating a skylight with the new covering avoids disturbing fresh shingles later. We plan the opening, underlayment, and flashing sequence alongside the roof work. You can also replace an old unit while the deck is exposed, subject to framing and product fit.
View service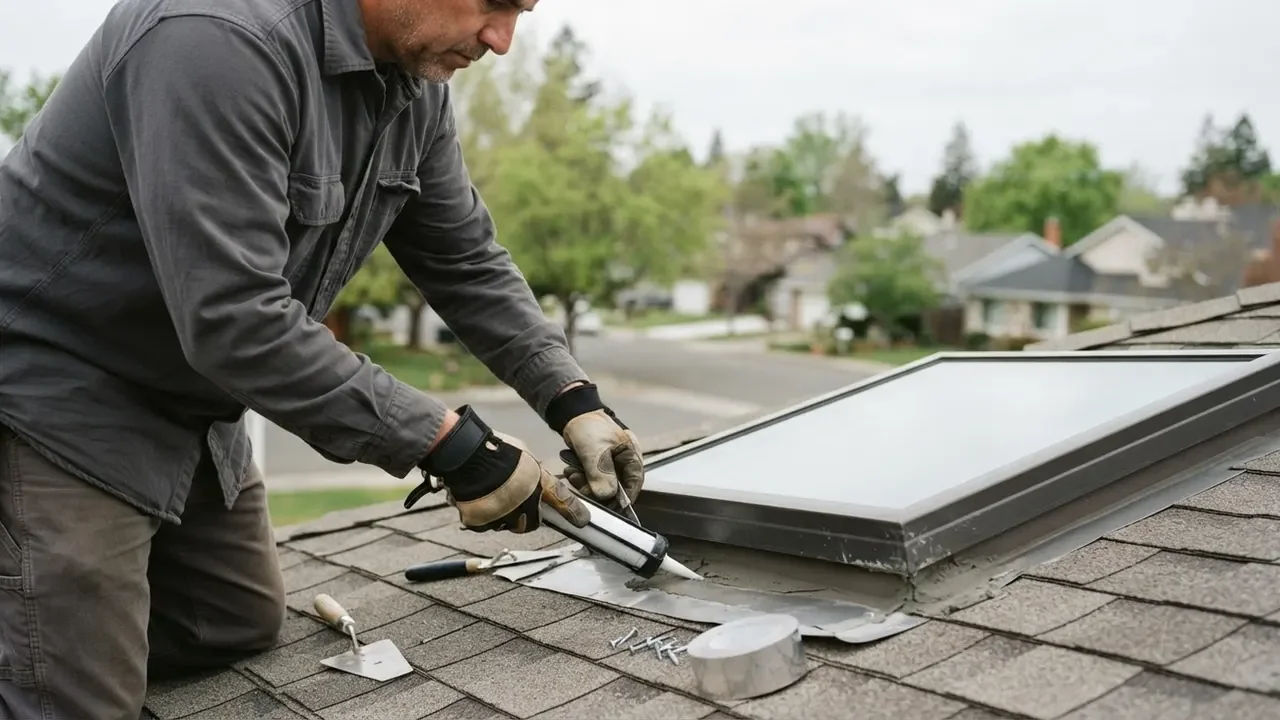
A stain near a skylight may come from failed flashing, a roof valley, or the unit itself. We trace the water path instead of sealing the visible mark alone. Roof leak repair can restore the surrounding assembly or identify when a full skylight replacement is the better long-term fix.
View serviceA storm-damaged skylight or sudden opening needs temporary weather protection before permanent work. We secure the affected roof area and assess the unit, flashing, and nearby covering. Once conditions allow, we complete the repair or replacement that restores the roof's water-shedding layers.
View service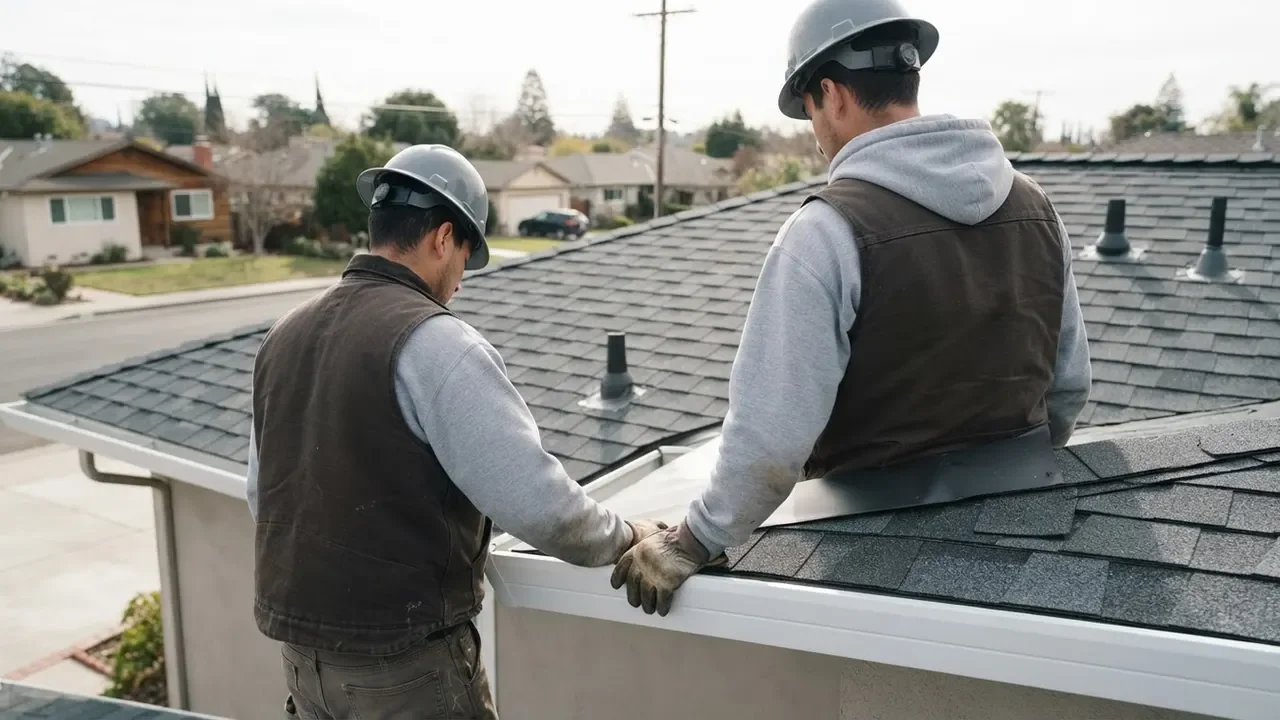
Call (877) 791-3217 to discuss a roof leak, storm damage, inspection, or replacement in Bay City. We connect you with independent roofing companies and help you get the conversation started. Calls are accepted around the clock for urgent roofing needs; tell us whether water is actively entering and where you see the damage.